| File information |
| Filename: | Photo_153.jpg |
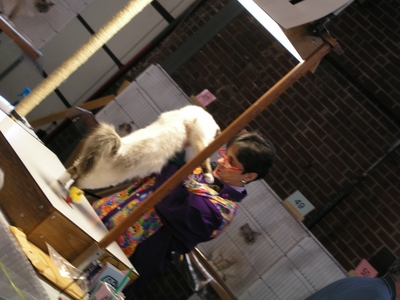
| Album name: | elrick / Cat Championship 2007 NJ |
| Filesize: | 1118 KiB |
| Date added: | Sep 17, 2011 |
| Dimensions: | 2560 x 1920 pixels |
| Displayed: | 115 times |
| URL: | http://www.cityphotolab.com/CPLgal/displayimage.php?pid=746 |
| Favorites: | Add to Favorites |